
Originally Posted On: https://www.ucanpack.com/blog/post/how-to-seal-and-reinforce-cardboard-shipping-boxes-for-long-distance-freight-a-tutorial
Before You Start
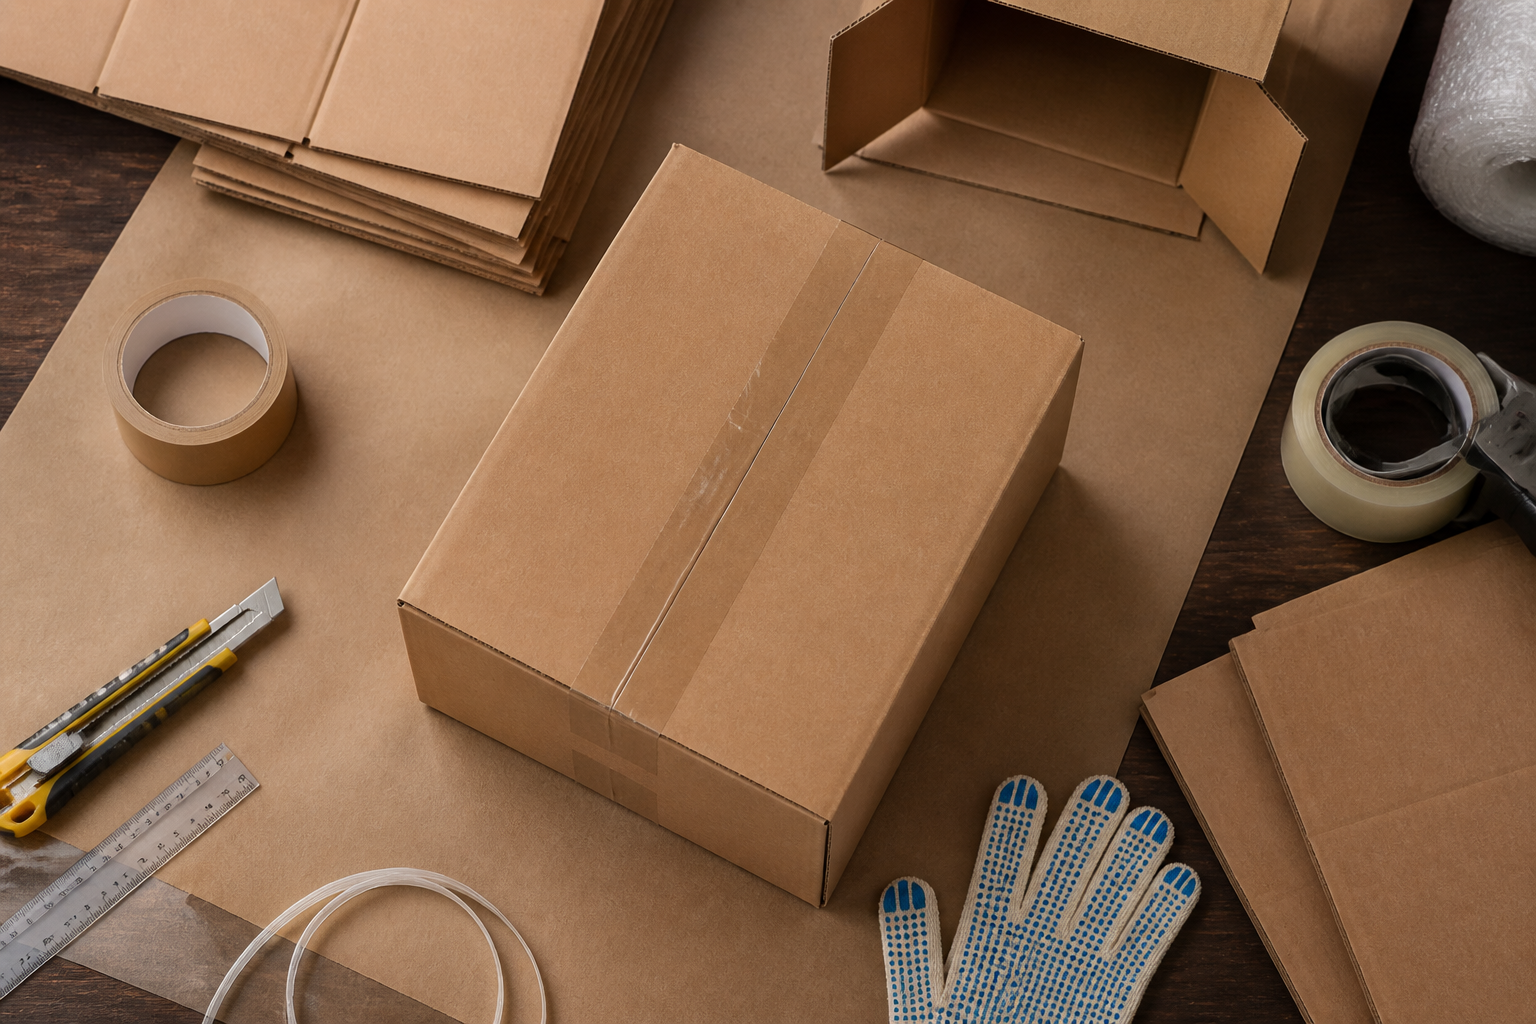
This tutorial walks through sealing — reinforcing corrugated shipping boxes so they survive multi-leg freight routes without splitting, crushing, or losing a corner somewhere between the truck and the loading dock. Here's what to have ready before you tape a single flap.
-
Skill level: Beginner to intermediate — no packaging engineering background needed, just a steady hand and 10 minutes per box.
-
Boxes on hand: New (not reused) single-wall or double-wall corrugated shipping boxes rated for your product's weight. Reused boxes lose ECT strength fast and aren't worth the risk on long routes.
-
Tape: 2" or 3" machine-grade packing tape (acrylic or hot melt), plus filament tape for heavy or long boxes over 20 lbs.
-
Void fill: Bubble wrap, kraft paper, or air pillows to stop products shifting inside the box.
-
A scale: To confirm total package weight matches what the box's ECT rating can actually hold.
-
10 minutes and a flat surface: Countertop, table, or clean floor space — nothing fancy.
-
Optional but useful: A box cutter, a marker for labeling flute direction, and a few extra flaps of cardboard for corner reinforcement.
A box that survives a 200-mile delivery van ride can still fall apart on a 2,000-mile freight route. That's the problem nobody warns you about until a pallet shows up with crushed corners and a claim form attached. Freight carriers pass boxes through more hands, more trucks, and more temperature swings than last-mile shipping ever does — and standard tape jobs just weren't built for that kind of abuse.
Cardboard shipping boxes can absolutely handle long-haul freight, but only if they're sealed and reinforced the right way. That means picking the correct flute type, checking the ECT rating stamped on the box, and taping in a pattern that actually reinforces the seams instead of just closing them. Skip these steps, and you're gambling with product damage, refunds, and customers who won't order again.
Here's the good news: you don't need industrial equipment or a warehouse crew to do this correctly. Grab a box, some filament tape, and follow along step by step.
What You'll Build and What You Need Before You Start
Picture a 40-lb box of ceramic mugs riding in a freight trailer for three days, getting stacked, jostled, and dropped onto a dock twice before delivery. That's the real test for cardboard shipping boxes headed long distance — not a gentle porch drop-off. Before you seal anything, you need a box rated for the weight, a sealing method that won't peel mid-transit, and reinforcement at the stress points.
Picking the Right Box: Single-Wall vs Double-Wall Corrugated
For anything over 20 lbs or traveling more than a few hundred miles, skip single wall shipping boxes and go double-wall. Single-wall works fine for lightweight, short-haul stuff. Double-wall handles compression and rough handling better.
Tools and Tape Checklist (Plus What to Skip)
You'll need: a 2" reinforced or filament tape, a manual or hand-crank tape gun, corner protectors, and a box cutter. Skip masking tape, duct tape, and single-strip office tape — none hold up under freight pressure.
Step 1: Check Your Box's ECT Rating and Flute Type Before Sealing Anything
A roll of tape can't fix a weak box.
Before you tape anything shut for long-haul freight, flip the box over and find the ECT (Edge Crush Test) stamp — that number tells you how much stacking weight the walls can handle before they buckle.
Reading the ECT Stamp on Corrugated Shipping Boxes
Most cardboard shipping boxes carry a certificate near the bottom seam listing ECT rating, flute type, and burst strength. A 32 ECT box handles moderate freight. Anything under 200 miles of rough handling needs at least 44 ECT — don't guess here.
When a B-Flute Box Isn't Strong Enough for Freight
B-flute is fine for retail shelves, not for cross-country pallets. For heavy or temperature-sensitive freight, step up to C-flute or double-wall, or consider insulated shipping boxes for climate protection. And skip flat shipping boxes entirely once they've been creased and reused — the crush strength is already gone.
Step 2: Prep and Load the Box So Reinforcement Actually Works
Weight Distribution and Void Fill Basics
Ever taped up a box perfectly, only to have it arrive crushed anyway? That's usually a loading problem, not a tape problem. Reinforcement can't fix a box where all the weight sits on one side or where products shift and pound against the walls for a thousand miles.
Start heavy items on the bottom, centered — not stacked toward one corner. Fill every gap with crumpled paper, air pillows, or foam so nothing moves when the box gets tossed onto a conveyor. A good rule: shake the box gently before sealing. If you hear or feel movement, add more void fill.
Some sellers even choose black cardboard boxes for smaller freight components since the darker exterior hides handling scuffs on long routes. Whatever the color, proper load prep is what makes your sealing and reinforcement steps hold up under real transit stress.
Step 3: Apply the H-Taping Method for Base Seal Strength
Roughly 23% of freight damage claims trace back to a seam that split at the bottom seam — not the top flap. That's why the H-pattern matters more than most sellers think. Run one strip down the center seam, then two shorter strips across each perpendicular edge, forming an H shape on both the top and bottom of your cardboard shipping boxes. Use 3-inch reinforced tape, not the thin stuff from a dollar store. For heavy or dense products, double up with a second layer over the first once it dries.
Common Mistakes That Cause Seams to Split in Transit
Most failures come down to three things: single-strip taping instead of H-pattern, tape applied to a dusty or dented surface, and skipping reinforcement on double wall boxes carrying heavy loads. Cosmetic brands shipping in white cardboard boxes often skip base reinforcement entirely because the box looks clean — that's a mistake once real weight sits inside.
Step 4: Reinforce Corners and Edges for Multi-Leg Freight Routes
Most people think extra tape strips down the seams fix everything. It doesn't. Corners and edges take the real beating during handoffs between trucks, sorting belts, and delivery vans — and a box that looks fine on day one can be crushed by leg three.
Using Filament Tape on Heavy or Long Boxes
For anything over 40 lbs, or boxes longer than 24 inches, skip standard packing tape at the corners. Use filament (fiberglass-reinforced) tape instead — it won't stretch or tear under load shifts. Run strips diagonally across each corner, then wrap the top and bottom edges where crushing usually starts. Double-wall cardboard shipping boxes hold up better here than single-wall, especially on routes crossing humid regions. If moisture exposure is a concern along the route, consider weather resistant shipping boxes instead of standard kraft. Reinforce every edge that touches a forklift blade or conveyor roller — that's where sturdy construction actually gets tested.
Step 5: Test Your Sealed Box Before It Ships
Picture this: a 24x24x24 box packed with a bike frame, sealed and stacked on a pallet headed cross-country. Before it ever reaches the carrier, pick it up and shake it — hard. Flip it upside down. Drop it from about a foot onto a hard floor. If anything shifts, rattles, or you hear cardboard flex under your grip, it's not ready. A sturdy pack shouldn't move when you tilt it corner to corner.
For anything over 20 lbs, run this test twice. Freight carriers stack, tip, and jostle boxes way more than a local courier would, so a box that feels fine sitting still can still fail mid-transit. If you're regularly shipping heavier items, switching to heavy duty shipping boxes up front saves you from redoing this whole process later.
If This Goes Wrong: Fixing a Box That Fails the Shake Test
Hearing movement? Add crumpled kraft paper or a double layer of tape along the seams — don't just add more tape — hope.
Recap: What You've Built and Where to Go Next With Bulk Shipping Supplies
Taping and reinforcing a box well is the difference between a package that survives freight handling and one that shows up crushed. You've now got the H-taping method down, corner reinforcement, and edge protection for stacking. That's the whole job, really — strong seams, strong corners, strong flute.
But the tape job only works if the box underneath can take the load. If you're shipping heavy or long-haul freight regularly, upgrading to crush resistant shipping boxes saves you from redoing this whole process on damaged returns. Double-wall construction with a higher ECT rating gives you a real margin against compression on pallets.
Next step: order a few sample sizes, test them with your actual product weight, and build a reinforcement routine you can repeat at 50 or 500 orders a month. Consistency beats improvisation every time.
Recap & Next Steps
You checked the ECT rating, loaded the box so weight sits low — centered, ran an H-taping pattern across the seams, boxed in the corners with filament tape, and shook the thing before it ever touched a carrier's dock. That's the whole job. A properly sealed and reinforced box shouldn't flex, sag, or pop a seam even after three or four handoffs between trucks.
Here's what to do next:
-
Standardize your box sizes. If you're shipping 50 to 1,000 orders a month, cut down to 3-4 box sizes total. Fewer sizes means less guesswork on tape patterns and faster packing at scale.
-
Buy filament and packing tape in bulk. Running out mid-shift is how sellers end up grabbing whatever's on the shelf at a hardware store, which usually isn't rated for freight.
-
Match flute type to product weight. Anything over 40 lbs or traveling more than one freight leg should move into double-wall C-flute or B/C combo board, not single-wall B-flute.
-
Build a quick QC checklist for your packing team: shake test, corner check, tape overlap check. Takes 15 seconds per box and catches most failures before they leave the building.
Once your sealing process is locked in, the next thing worth fixing is box selection itself — pulling ECT and flute specs before you order in bulk, not after a box fails in transit.
A sealed box is only as good as the choices made before the tape ever touches cardboard. Getting the flute type and ECT rating right sets the ceiling for how much protection is possible — no amount of tape fixes a box that was underrated for the load in the first place. From there, it's the H-taping, the corner reinforcement, and that final shake test that decide whether a shipment survives three transfer points or falls apart at the first one.
None of this requires guesswork. Match the box to the weight, tape the seams properly, reinforce the stress points, and test before it leaves the building. That's the whole job.
For sellers moving 50 to 1,000 orders a month, the real gain comes from standardizing this process across every cardboard shipping box that goes out the door — not just the fragile ones. Build a repeatable checklist, train whoever else packs orders, and stock the right flute strength for your heaviest items before the next freight run, not after a damage claim shows up.
UCANPACK
753A Tucker Rd
Winder, GA 30680
1 201-975-6272
https://ucanpack.com


